November 7, 2018
Guide: Realtime Similarity Search
By: Bjørn Næsby Nielsen
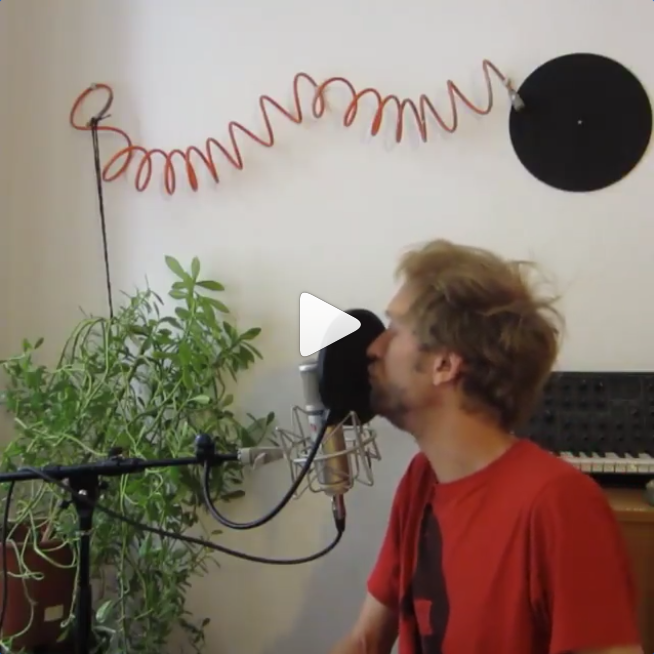
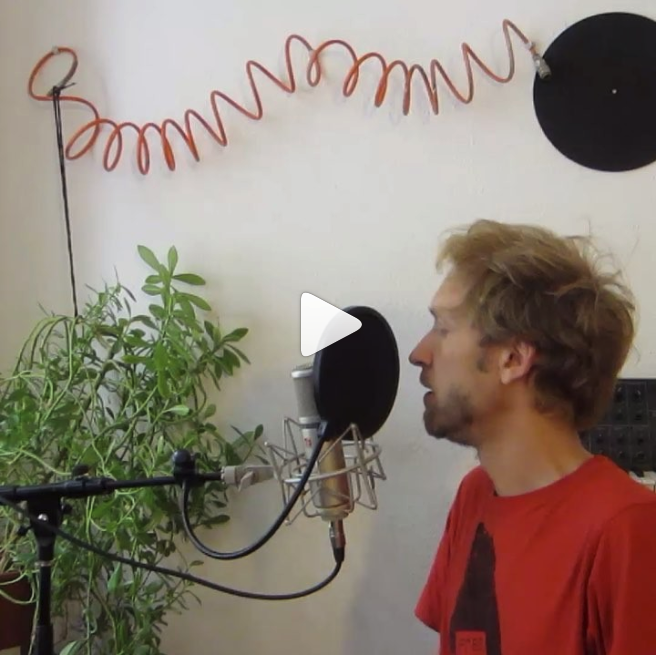
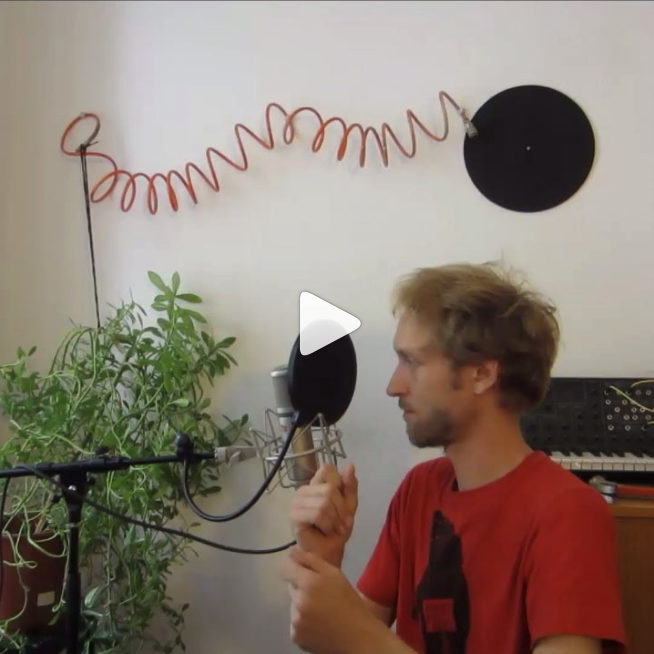
Some time ago, a number of videos popped up on my instagram account, showing me doing vocal impressions, snapping fingers, beatboxing and the like. And of course, the idea was to demonstrate similarity search in the easiest possible way:
But, while the instagram format is great for such short videos, a single minute isn’t really enough to explain the finer details of my setup. So I’m taking this chance to provide a bit more background information.
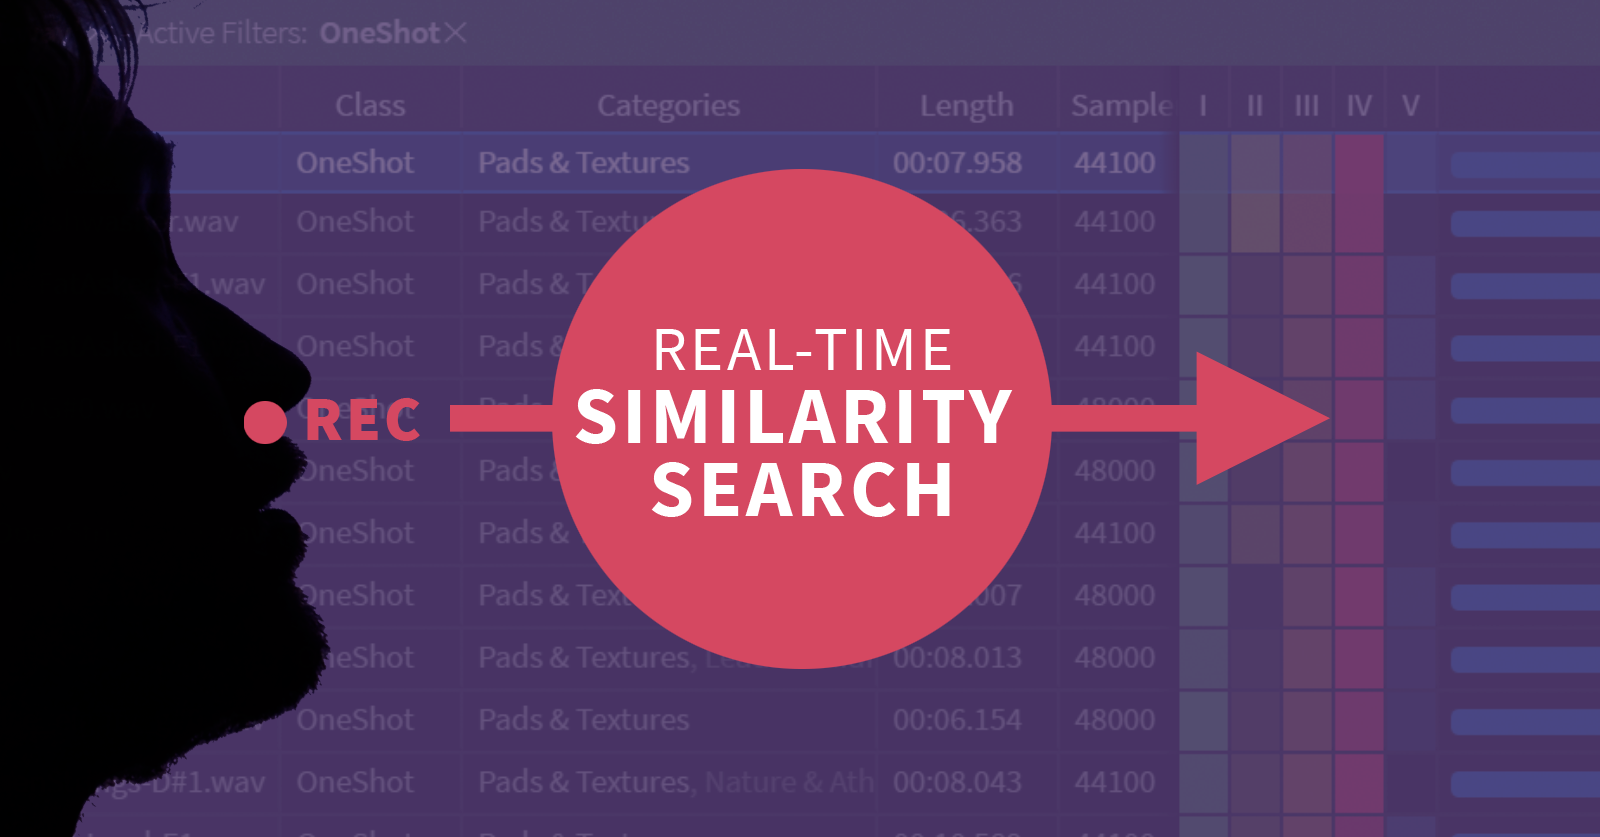
How to perform realtime search
If you want to try your hand at realtime search, first make sure that a recording device has been selected. This can be verified by heading into Preferences > Audio Config. If not, the record button in the transport panel will be grayed out.
Otherwise, it’s simply a question of hitting the record button (or its associated keyboard shortcut). Immediately, Sononym will begin recording the incoming audio. Press the record button again to stop the recording - and immediately, a new similarity search is launched.
It’s worth pointing out that Sononym uses a noise threshold to trim leading and trailing silence from the recording. This threshold is not currently adjustable, so please make sure that your audio input receives a loud enough signal. You can check this from the miniature VU-meter that appears next to the transport buttons while recording, or simply by looking at the resulting waveform.
But, where do the search results come from?
Good question! I think a fair number of people watching these videos could be led to believe that the results are found in the ‘cloud’, somewhere - after all, we are all routinely using search engines to navigate billions of web pages. But I actually shot those videos while being completely offline - so indeed, where did those sounds come from?
The answer is simple: similarity search searches the current set of results. So, whatever you are browsing through before you launch a similarity search is what the search will be based on. And I happened to have a nice, well-rounded library of some 35.000 sounds selected before launching my search.
That the similarity search works on the current set of results comes with a huge advantage: it means that you can combine similarity search with ‘regular’ filtering. Imagine that you’re looking for a snare-like sound? It would make sense then to filter the results by “ONE-SHOT” or “SNARE” to narrow the focus - and as a result, the total amount of samples that Sononym needs to search just dropped from 35.000 to perhaps 2.000, leading to results arriving much faster. The same would be true if you knew that you were looking for results from a specific folder, or in a particular pitch.
Examples using default settings
OK, so we’re searching through a library of 35K sounds, looking for whatever sound we just recorded. Here are two more examples using the default search settings:
Custom search settings (aspects)
To perform more specific searches, you can tweak the so-called aspects to your liking.
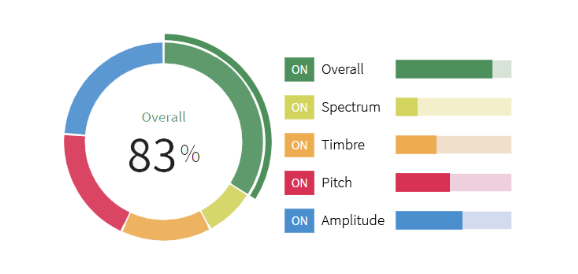
Similarity aspects are situated in the upper right-hand corner while a search is active
I will not go into detail about each aspect, as they are already covered by the documentation. But I will explain how they apply in the context of my instagram videos.
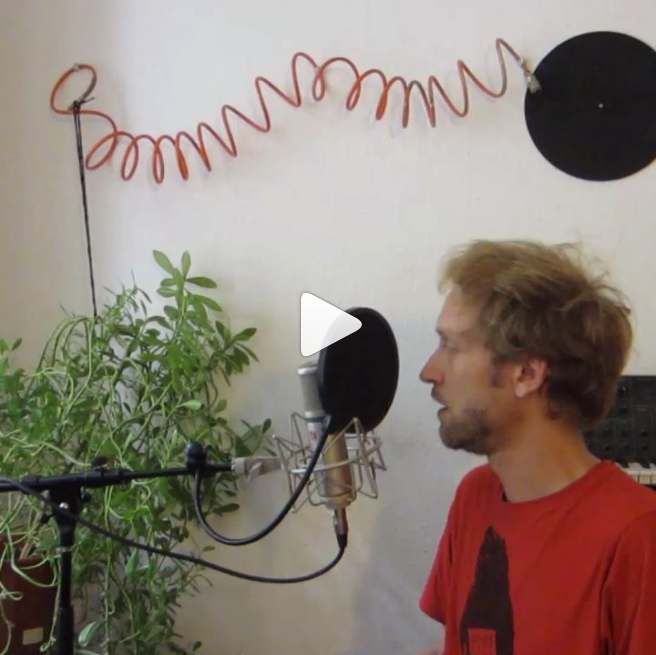
Example: Search by Amplitude
Listen to this impression of a gradually rising noise:
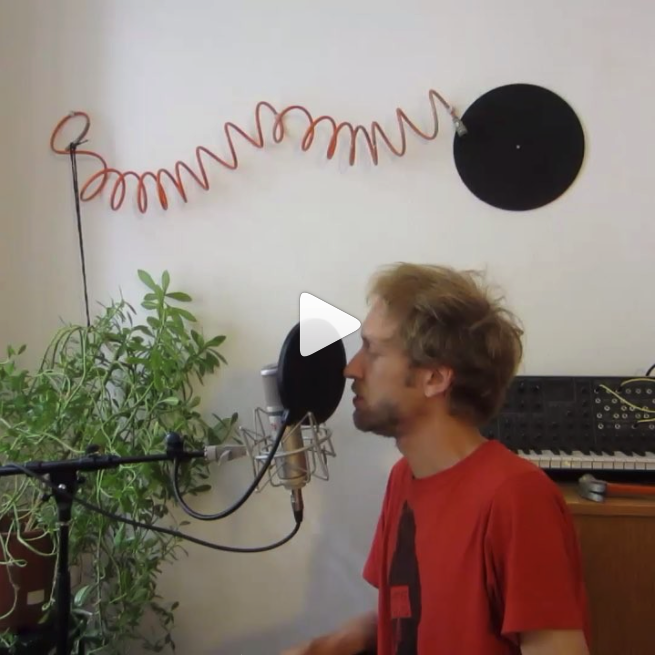
If you look at the aspects dial in the video, you will notice that I have disabled all but the blue aspect (amplitude). When the aspects are configured like this it does not matter how noisy or harmonic a sound is, or what pitch it might have - it will simply be included in the results when there is a reasonable degree of similarity to the amplitude of the source sound.
Here is another example, which shows what happens when more aspects are allowed to influence the results.
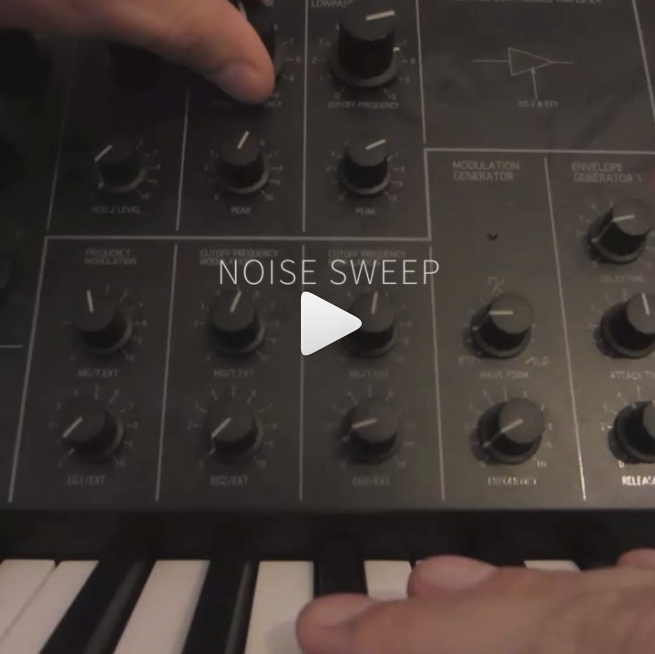
In this case, the resulting sounds still have a high degree of amplitude similarity, but, as expected, now also share more qualities across the spectral and timbre aspects.
Example: Filtering by Pitch
In this example, I am using the pitch filter to include results that match a particular note/frequency:
The pitch filter computes the average pitch of the whole sound - condensing it into a single value. The pitch aspect, on the other hand, is sensitive to changes over time. But that doesn’t prevent you from combining the two - as you can see in the video, I have turned the Pitch aspect up quite high and the aspect columns below shows a strong red color indicating good similarity.
Also worth knowing
A few handy tips and tricks that can make the search more productive:
You can use any audio source - While I’ve mostly focused on using a microphone for these videos, you can obviously use the same technique to record your synth, guitar, or hook it into your DAW via a virtual audio cable. I simply used a microphone because it’s a fun and intuitive way to search - the human voice is incredibly flexible.
Sononym saves your recordings - After you have recorded a sound, it will be stored in the Sononym documents folder, under /Recordings. You can even add the recorded sound to a collection, just like you would add any other sound.
You can switch between takes - When you record multiple takes of a sound, you can use the query history to switch between takes. Look for the arrow buttons in the topmost toolbar, they act pretty much like a browser history.
Questions or comments: don’t hesitate to contact us

